Project Examples Manual
| Language: | English • 中文(简体) |
|---|
The following examples created to demonstrated simple robots configuration and movement execute by them.
Every example include "ZIP" file that contain all the files you need to run the project by your self. You will find the files list in the projects examples pages.
Notice that there is examples that made for real systems, and examples that made for simulated system.
You can duplicate and modify every project example - you will find instructions bellow.
| NOTE | |
| At the "ZIP" folder you will find an excel file that contain the basic parameters that provided by the robot/motors manufactures. Those parameter were used at the robot setup with softMC Configurator |
| NOTE | |
| In some simulated examples there is an option to run simulated robot through RoboDK software, you will find the instructions bellow. |
Contents
How To Load Project Example To ControlStudio
- Download project ZIP file to your computer, extract and save it in accessible folder.
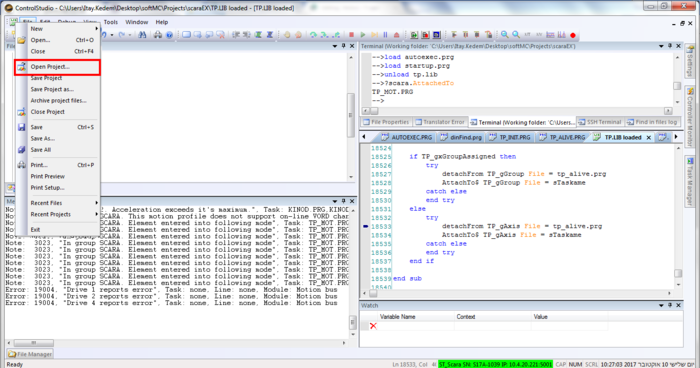
- Open ControlStudio. From the menu-bar, choose File → Open Project... and locate the project example file. Notice that the relevant file is the ".apj" file.
- To upload the project files to the controller do the following:
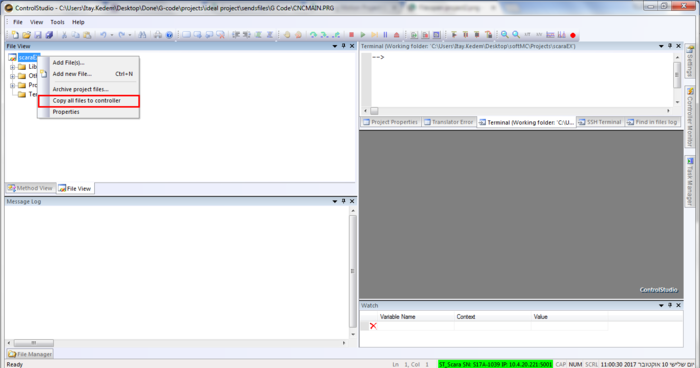
- At the "File View" window, at the project tree, right click on the project name and choose "Copy all files to controller"
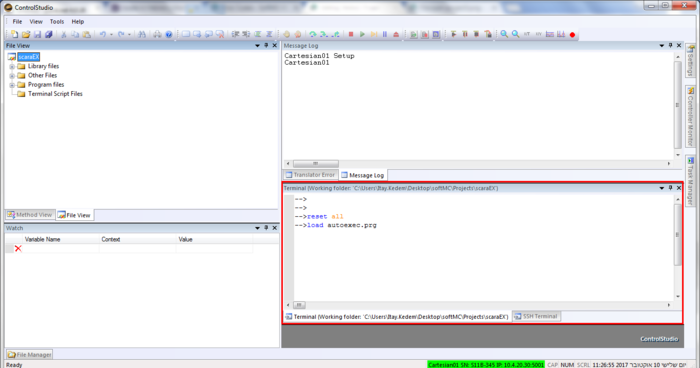
- From terminal → send Reset All command, and after execute send Load AUTOEXEC.PRG task.
- At the "File View" window, at the project tree, right click on the project name and choose "Copy all files to controller"
- The project now ready to run the specific movement example program, according to example files - instructions given in each example page.


How To Open Project Example Properties With softMC Configurator
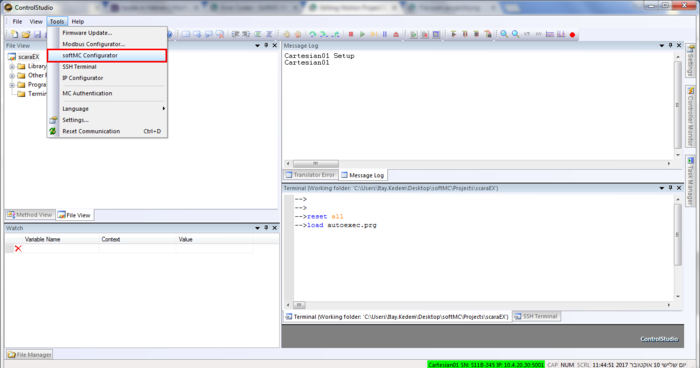
- After load and run the example to ControlStudio, open softMC Configurator from the menu-bar Tools → softMC Configurator.
- The project setups will open at softMC Configurator window, notice that you use the same system as describe in the example page.
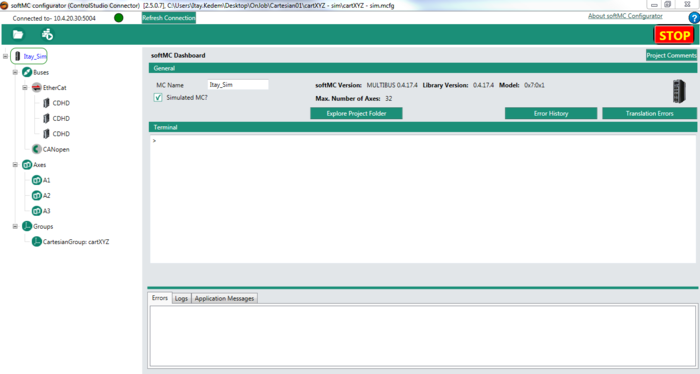
- You can watch and change properties for axes and robot as you want. It's recommended to make project duplicate, as explain bellow, and make changes to the copy.
- You can find more information about softMC Configurator HERE


How To simulated Robots Using RoboDK
To simulate relevant examples on RoboDk, you will need the following:
- RoboDK software. You can download it from HERE
- mcEnv.py file - Download and extract the file from HERE. Save this file at your roboDK folder.
- Robot template, that provide with the project.
- Working ControlStudio that connect to your softMC.
Follow those steps to connect your softMC with the simulated robot using ControlStudio:
- After loading project files as explain before, load SERVER.PRG program from ControlStudio terminal :
--> load SERVER.PRG
- When the program finished, you will get the following message at the Message Log ("socket 2" it's an example)
socket 2 is set
- With RoboDK open the robot file, RoboDK Station file or .rdk file.
- At the left side, right click on Prog1, the python file, and choose Edit Python Script. A new window will opened.
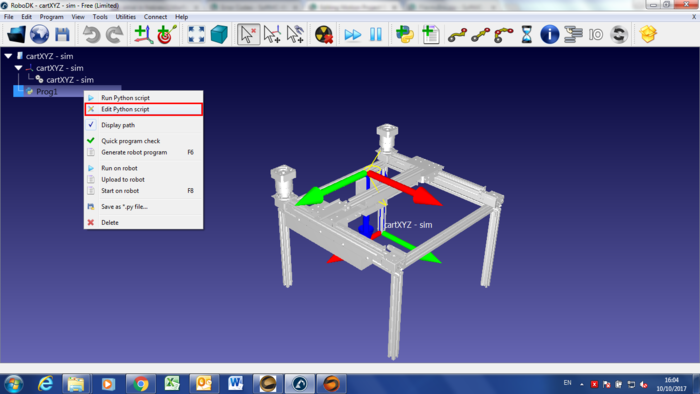
- In the Python script you'll need to make sure that the host IP address, is the one that your softMC has. If it's not the same - change and save it, and close the window:

- Execute double click on the Python script symbol, a small yellow arrow should appear on the symbol. You will get the following message at the Message Log
client is connected
- From now until you disconnect from RoboDK file, from your network or other interruptions, you can watch every movement command you will execute in ControlStudio.


Project Example Duplication
In case you want to use the projects examples setups, or want to create your own setups, you can copy the examples properties, including programs files, library and more, by following the next steps:
- From ControlStudio, at the menu-bar, choose File → Save Project as...
- Locate project copy at any folder you'll like.
- You have now a new robot, with all necessary files, ready for you to take control.