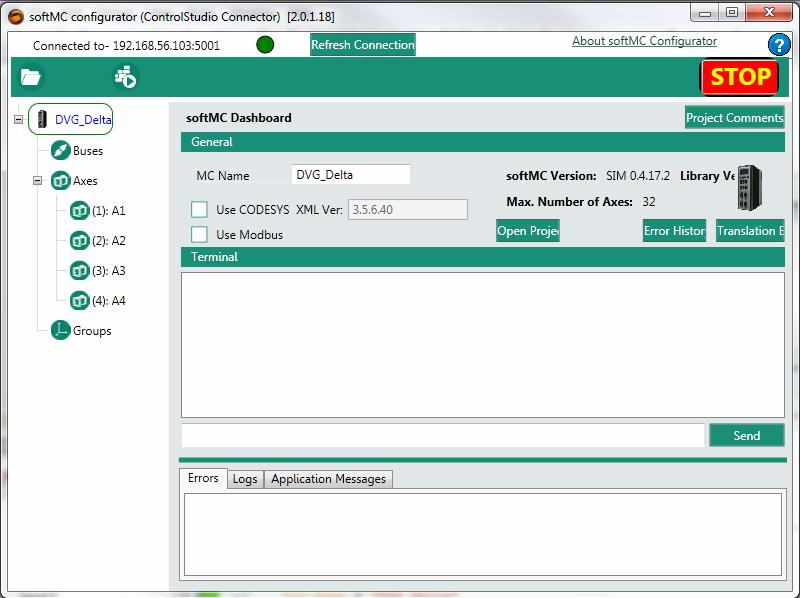
4-Axis Delta robot Setup
Contents
- 1 Introduction
- 2 Run softMC SIM
- 3 Run ControlStudio
- 4 Creating and Running a CONFIG.PRG file
- 5 Run Configurator Open new project
- 6 Create new Folder
- 7 Configuring Drive and Axes
- 8 Configuring The Delta Robot
- 9 General tab
- 10 Coupling tab
- 11 Properties tab
- 12 Configuration tab
- 13 Build
- 14 Close Configurator
- 15 Create solution
- 16 Add watches
- 17 Run the Robot
- 18 Run Robot with roboDK
- 19 Robot Programs Example
Introduction
This example is still under construction
In this example we will use softMC simulator to create Delta Robot, run it from terminal watch some parameters and finally run it with roboDK
We select Delta robot from roboDK library, robot parameters:
Rbig = 110 [mm]
L1 = 100 [mm]
L2 = 270 [mm]
Rsmall = 40 [mm]
Gear 1:1
Typical velocity is 18,000 [deg/sec] 3000 [RPM]
Typical max velocity is 30,000 [deg/sec]
Typical Acceleration/Deceleration 720,000 [deg/sec]
Typical Max Acceleration/Deceleration 900,000 [deg/sec]
Typical Jerk is 2,160,000 [deg/sec]
Typical Jerk is 2,700,000 [deg/sec]
Note:
Tool value is: tool = #{0,0,15,0}
Run softMC SIM
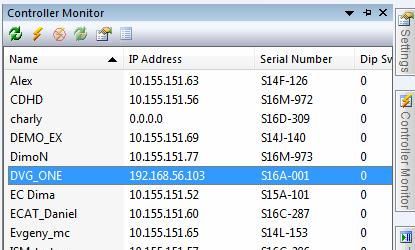
I run my softMC simulator with my VM, i login using mc for System login and Password than i type ifconfig to find my softMC simulator IP address, in the following example IP is 192.168.56.103
Run ControlStudio
Run ControlStudio and make sure you run the approporiate firmware version in following example we run Firmware 0.4.17.2-C2

Creating and Running a CONFIG.PRG file
The Configurator does not generate a CONFIG.PRG file, which is a necessary file.
The most simple CONFIG.PRG file will look like this:
Sys.NumberAxes = 4
program
    Sys.Name = "DVG_Delta"
    Print "system is running  -  " ; Sys.Name
    Sys.DoubleFormat = 1           ; viewing the watch number
end program
NOTE: It is important that Sys.NumberAxes will be at least 4 as the Delta robot needs 4 axes.
Before opening the Configurator, make sure to run the CONFIG.PRG file by uploading it to the softMC using "Save and Load" and sending ">reset all" in the terminal.
Run Configurator Open new project
Run configurator from ControlStudio and open new Project
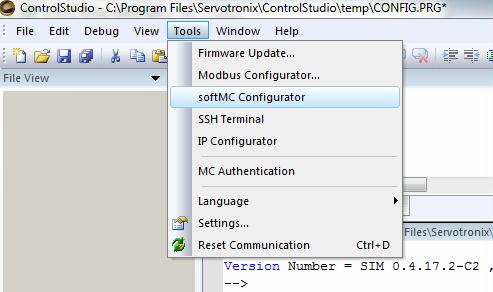

Important Notes:
- You do not see any drive under Buses folder since you run in simulation
- Make sure you see 4 axis (A1 A2 A3 A4)
Create new Folder
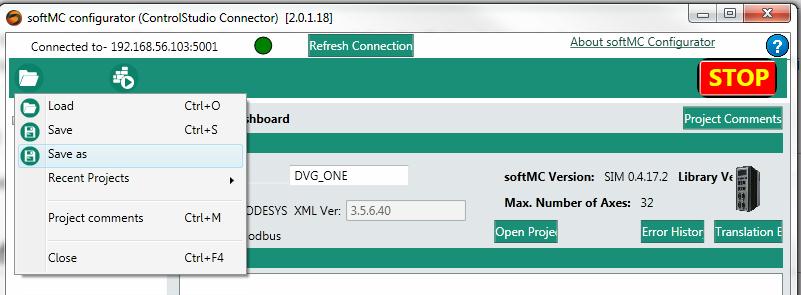
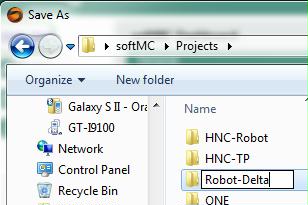
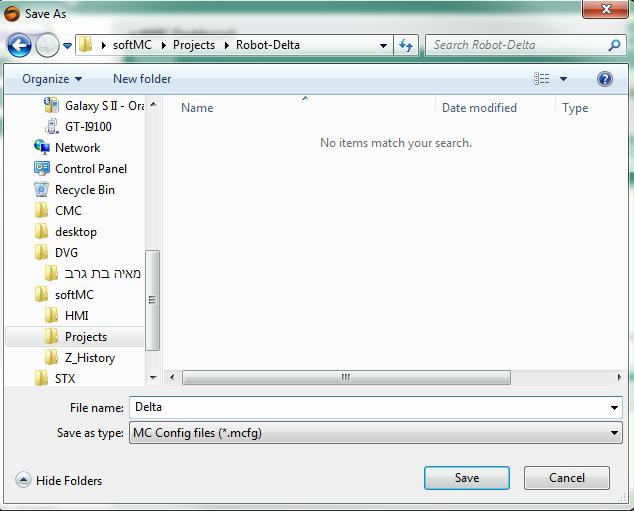
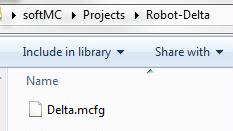
Now we will create our folder and our configuration file, to do it we will use "Save As" create "New" folder and name our configurator file as Delta
Configuring Drive and Axes
Define Drives
Since we work with softMC simulation we do not have any drives and can skip to the next one
Define Axes
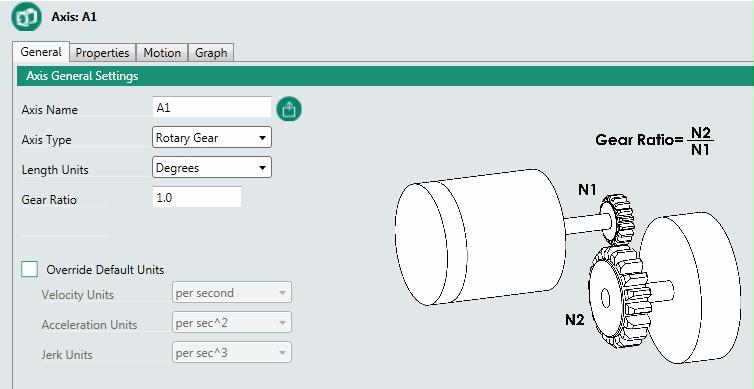
Press on the first axis and its configuration window will show:
- Choose the "Axis Type". Please choose: "Rotary Gear" for the Delta robot.
- Set the Gear Ratio value to the correct value. we will keep it 1
Repeat the last steps for each used axis.
Hint:
If you have similar axis you can do all the setting than copy entire axis with right mouse clicking on the axis
The configuration window of the axes has few tabs.
The "Properties" tab allows to set the axis properties.
Set following properties appropriately to each axis
velocity is 18,000 [deg/sec] 3000 [RPM]
max velocity is 30,000 [deg/sec]
Acceleration/Deceleration 720,000 [deg/sec]
Max Acceleration/Deceleration 900,000 [deg/sec]
Jerk is 2,160,000 [deg/sec]
max Jerk is 2,700,000 [deg/sec]
Note: for a simulated robot, change the "Simulated Axis" property to "True" for all axes.
Configuring The Delta Robot
General tab
Coupling tab
Properties tab
Configuration tab
DH Parameters tab
Frames/Locations tab
Theta Parameters tab
Build
Close Configurator
Create solution
Open Project (apj file)
