Difference between revisions of "softMI HMI Getting started"
| Line 49: | Line 49: | ||
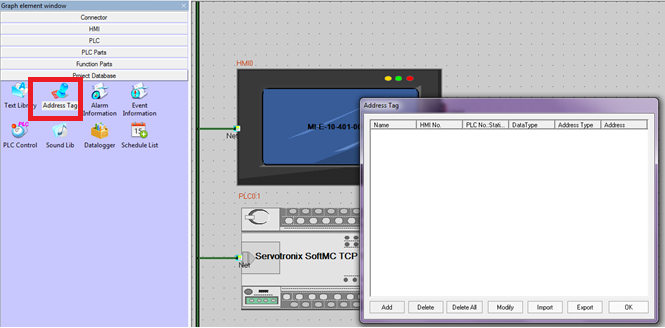
Go to “Project Database” tab in “Graph Element Window”, and choose “Address Tag”: | Go to “Project Database” tab in “Graph Element Window”, and choose “Address Tag”: | ||
| + | [[File:HMI9.png]] | ||
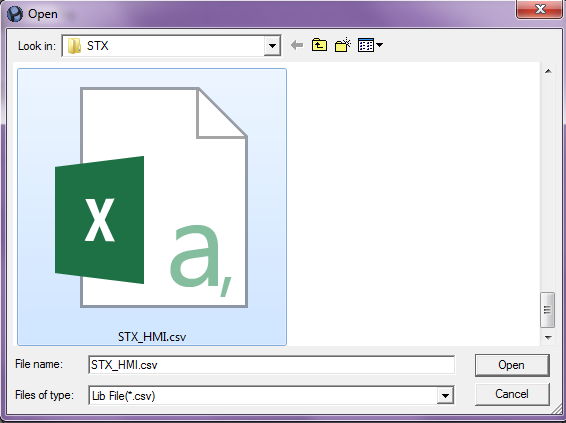
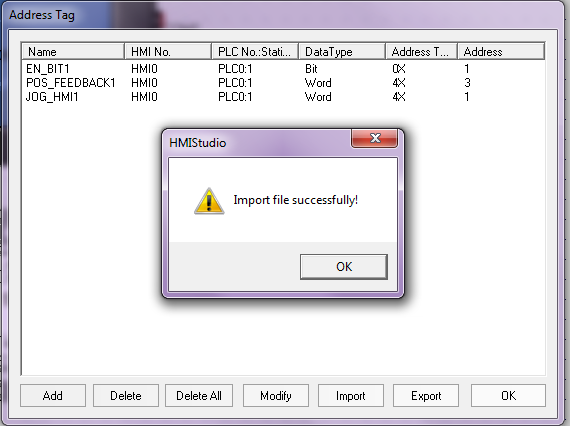
| − | + | Import the CSV File: | |
| + | |||
| + | [[File:HMI10.png]] | ||
| + | |||
| + | [[File:HMI11.png]] | ||
| + | |||
| + | |||
| + | == Build and design the interface == | ||
Revision as of 12:43, 10 May 2017
This is a tutorial for first configuration of SoftMC with SoftMI thru HMIStudio
Creating project and adding components
Open new project: File:HMI1.png
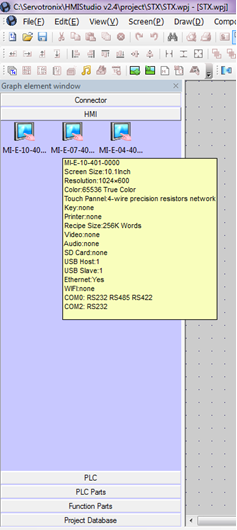
At the left side bar - "Graph Element Window" select HMI tab, and choose HMI type.
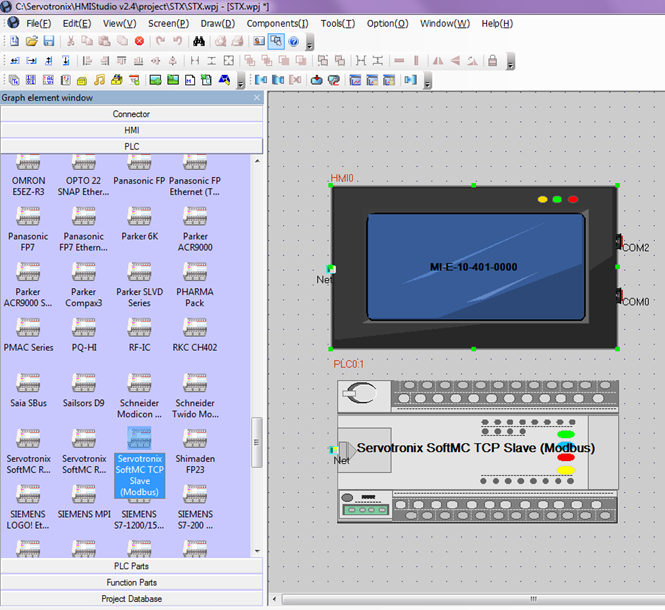
At the left side bar - "Graph Element Window" select PLC tab, and choose controller / PLC type. Drag and drop in center window:
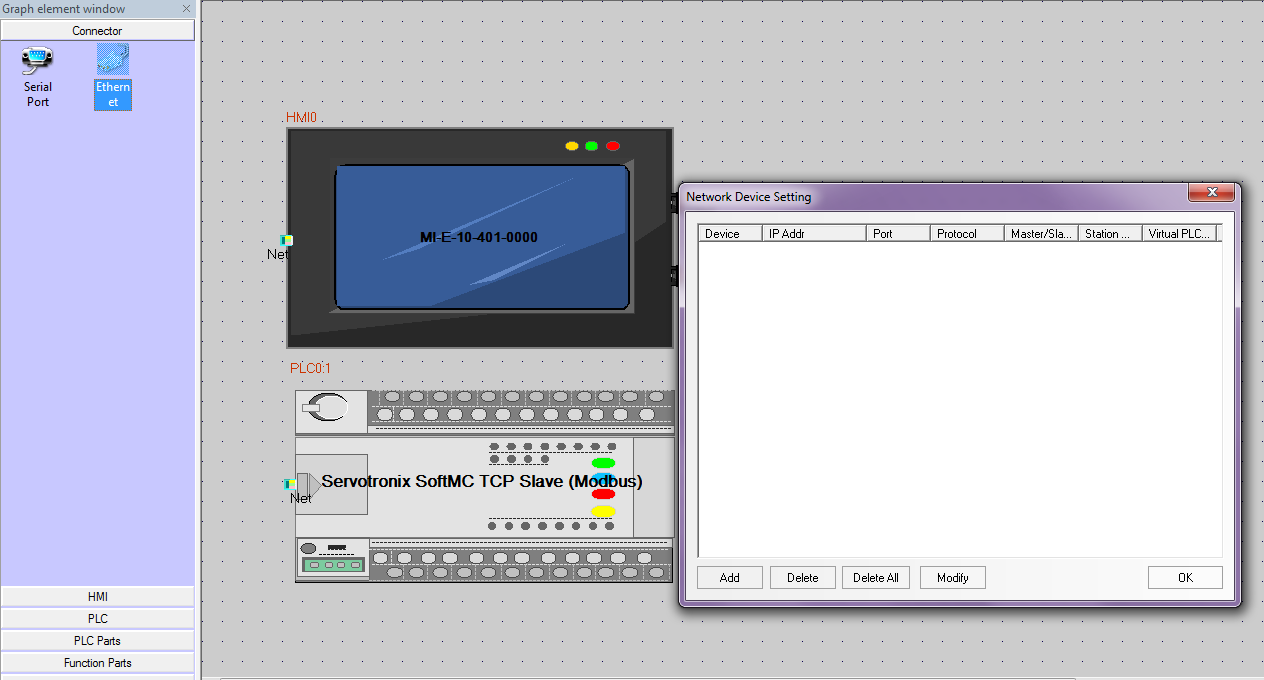
At the left side bar - "Graph Element Window" select Connector tab, and choose communication type. In this example I choose Ethernet (TCP) Drag and drop in center window:
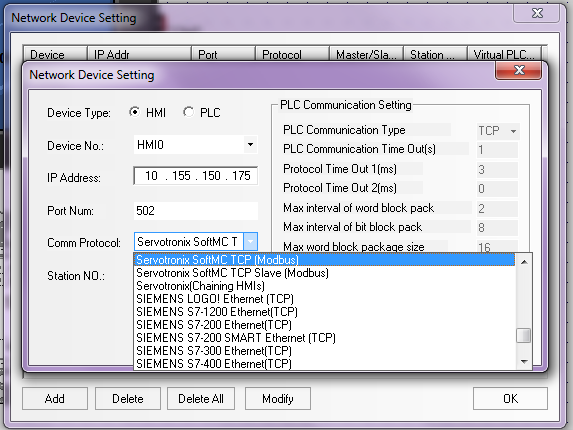
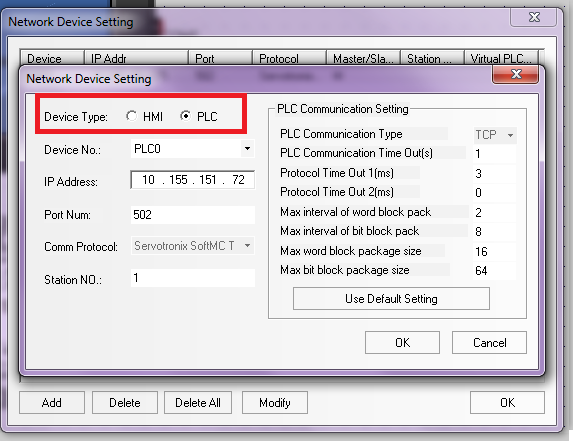
At the pop up window - "Network Device Setting" press "Add". Set HMI IP, and choose correct Comm Protocol:
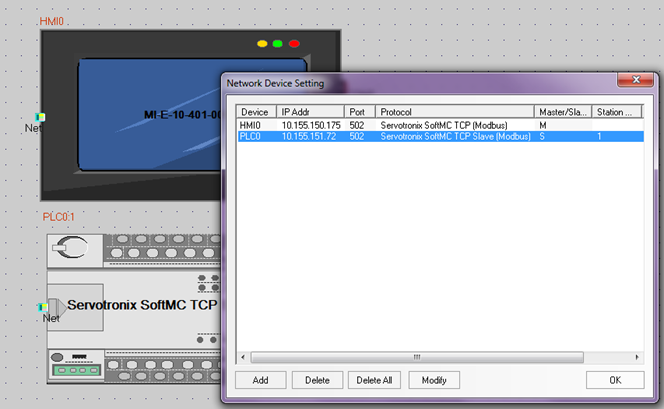
Press "Add" again, and set SoftMC IP and comm protocol:
After adding both HMI and PLC this is the final display:
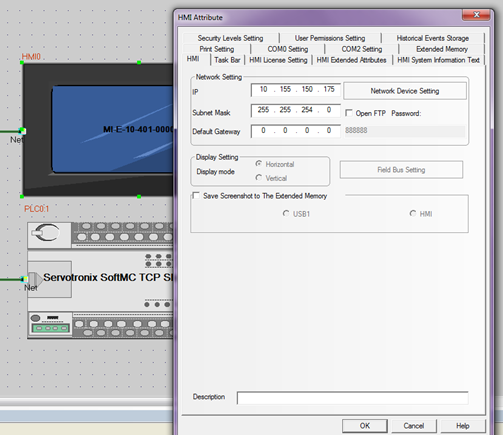
Double click the HMI for access extra Attribute configure:
Importing Parameters file (CSV)
SoftMC Modbus Configurator is generating CSV file containing the project parameters and their Modbus addresses.
Generating CSV file with Modbus Configurator [[1]]
Importing the CSV file to HMIStudio: Go to “Project Database” tab in “Graph Element Window”, and choose “Address Tag”:
Import the CSV File:
