6-Axis Puma robot Setup
This is a tutorial for a 6-axis PUMA robot setup with the Configurator.
Creating and Running a CONFIG.PRG file
The Configurator does not generate a CONFIG.PRG necessary file.
The most simple CONFIG.PRG file will look like this:
Sys.NumberAxes = 6
program
    Sys.Name = "MC_NAME"
    Print "system is running  -  " ; Sys.Name
end program
NOTE: It is important that Sys.NumberAxes will be at least 6 as the puma robot needs 6 axes.
Before opening the Configurator, please run the CONFIG.PRG file by uploading it to the MC and running "reset all" in the terminal.
Opening The Configurator
First, you need to open the configurator. One option is to open the configurator through the Control Studio.
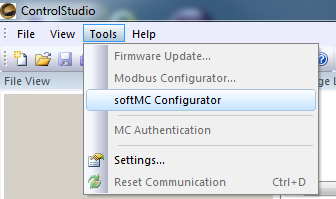
Go to: tool -> softMC Configurator.

If the Control Studio is already connected to an MC, then you will see the following window.
Choose the New Project tab, and then choose the softMC version that is on your MC.

If the Control Studio was not connected to the MC, the next window will show.
1. Choose the type of network connection
2. Press on "Scan for softMCs"
3. Choose your MC
4. Press on the "start configuration" button
Then you will get to the previous explained window. Follow the previous instructions.
File:offline configurator.png
Configuring The Drive and Axes
First, you need to configure the drives and axes.
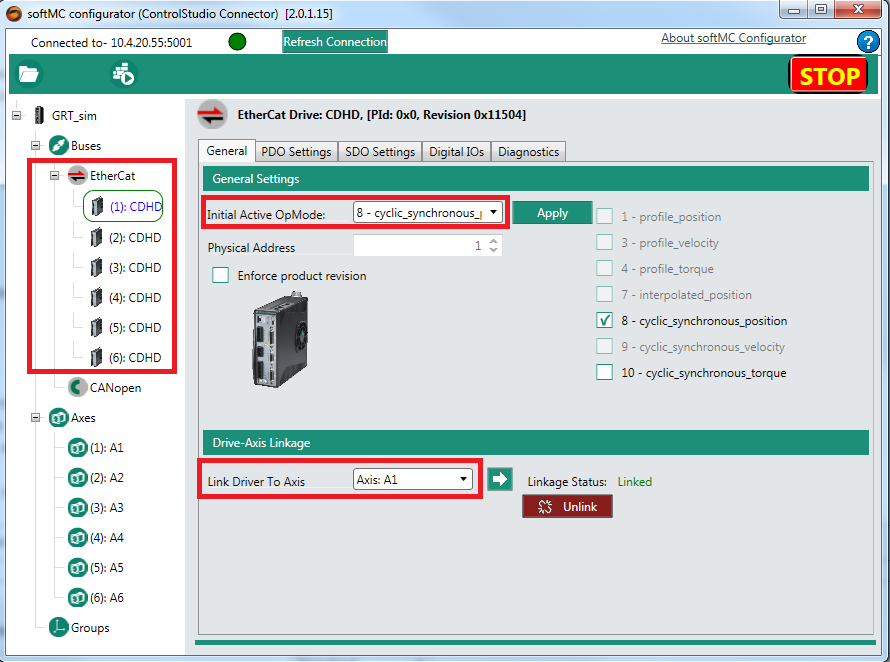
In the project window, the left pane shows the recognized drives and axes.
NOTE: Only EtherCAT drives are recognized automatically, the CANopen drives should be added manually.
NOTE: If a simulative rovot is being configured, ignore the drives configuration part.
Press on the first drive, and its configuration window will show:
The minimum requirement is to choose the "Initial Active OpMode". Please choose: "8 - cyclic_synchronous_position".
Then you should link the drive's corresponding axis. Choose the correct axis in "Link Driver To Axis".
Lastly, press on the "Apply" button.
