Difference between revisions of "AXY:Virtual Box MIB"
m (→Virtual MIB as a build machine) |
(→Installation) |
||
| Line 68: | Line 68: | ||
[[File:vb13.png|picture| disk2 ]] | [[File:vb13.png|picture| disk2 ]] | ||
| − | <big> Network configration. we configure the virtual box to become part of the LAN. Click on Network ->Bridged Adapter. </big> | + | <big> Network configration. we configure the virtual box to become part of the LAN. Click on "Network -->" "attached to" and choose Bridged Adapter. </big> |
[[File:vb14.png|picture| Network ]] | [[File:vb14.png|picture| Network ]] | ||
| + | <big>Serial Configuration. you may want to have serial ( rs232 ), as mc needs it from time to time. Click on "Serial Ports" and have "Port Numner" equal COM1 </big> | ||
| + | [[File:vb15.png|picture| Serial ]] | ||
| − | |||
[[File:vb16.png|picture| Disk ]] | [[File:vb16.png|picture| Disk ]] | ||
[[File:vb17.png|picture| Disk ]] | [[File:vb17.png|picture| Disk ]] | ||
Revision as of 09:19, 17 October 2012
This document describe how to install and build a MIB in a virtual box.
Contents
Abstract
There are several usage for the Virtual Box MIB.
- Virtual MIB as a build machine
- Virtual MIB as a Codeasys
- Virtual MIB as mini build machine
Virtual MIB as a build machine
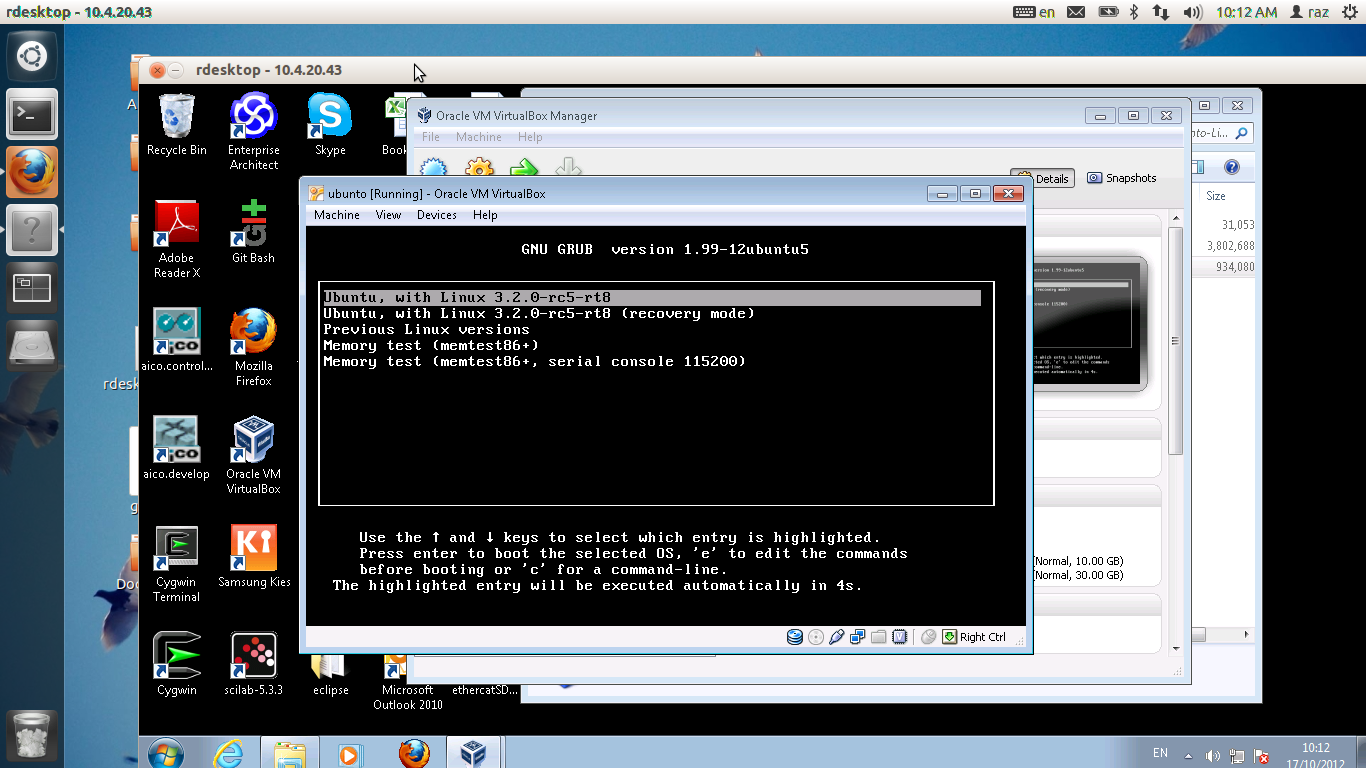
A machine running Ubunto. It provides a full working environment, such as eclipse,gitk, 3s and so on. This machine comes with two kernels, preempt rt and native ubunto kernel. The native kernel comes with ubunto installation, the preempt rt kernel provides a coherent real time operating system to run mc. A cohernet real time operating system here means a system that prioritize threads as mc expects, that is, by their priority.
Installation
First download Virtual Box for windows ( ie . if you are running windows )
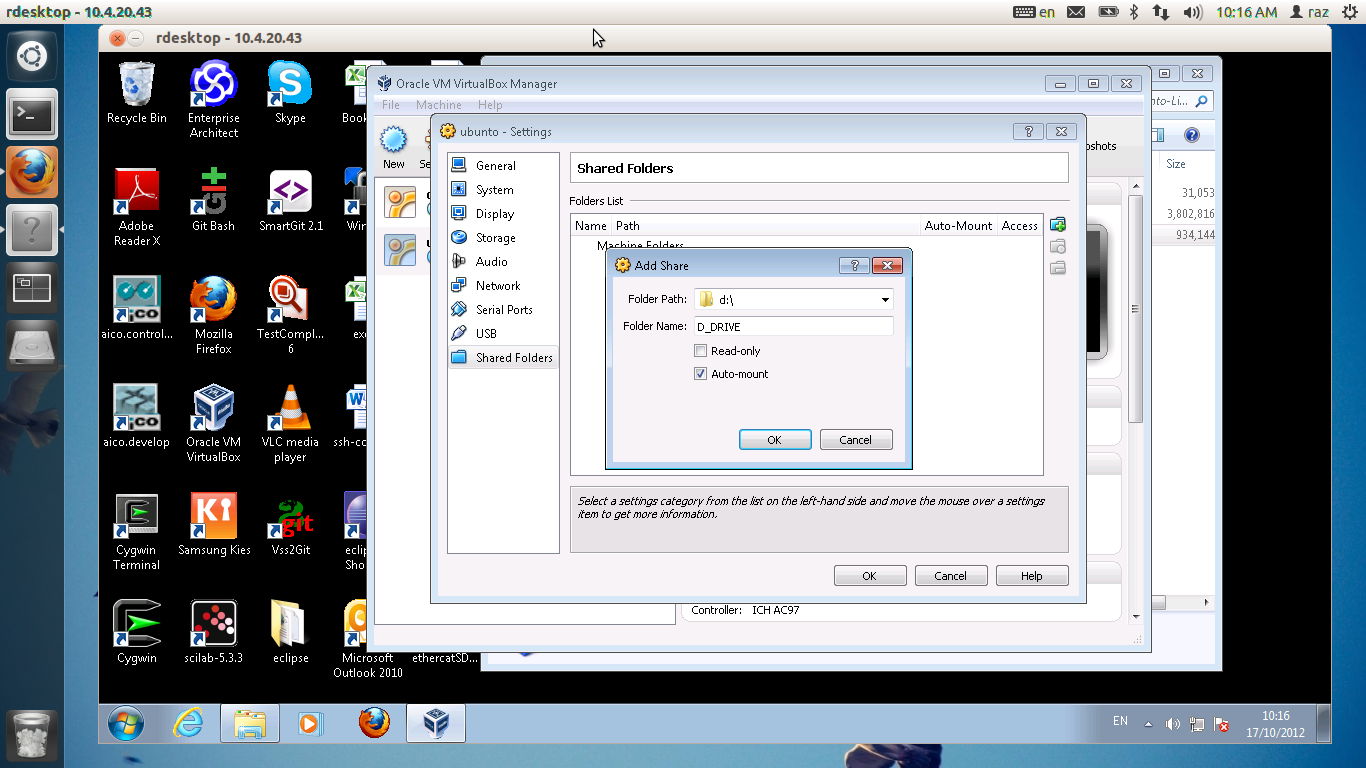
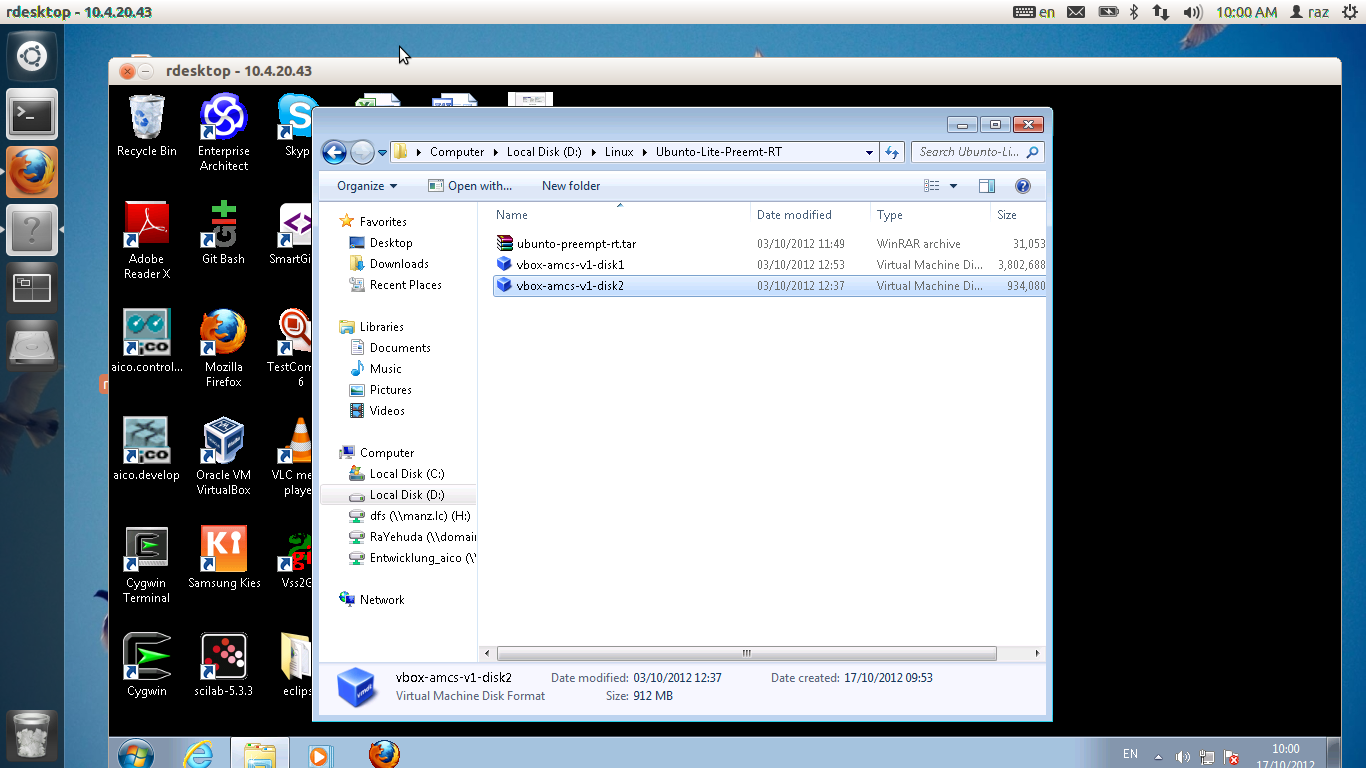
Grab the virtual disks from //domainaxy/IL/MC/Linux/Ubunto-Lite-Preempt-RT. They are about 4GB combined so it would probably take some time to download.
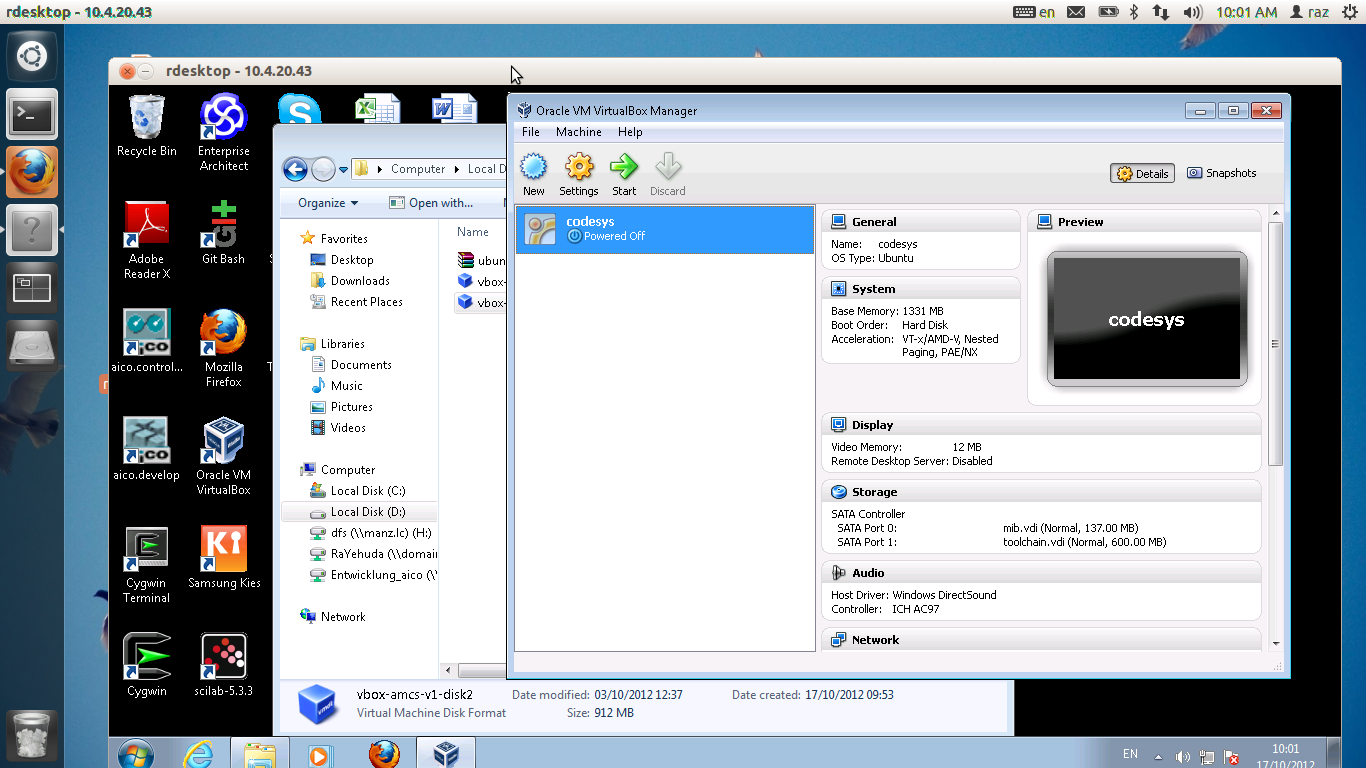
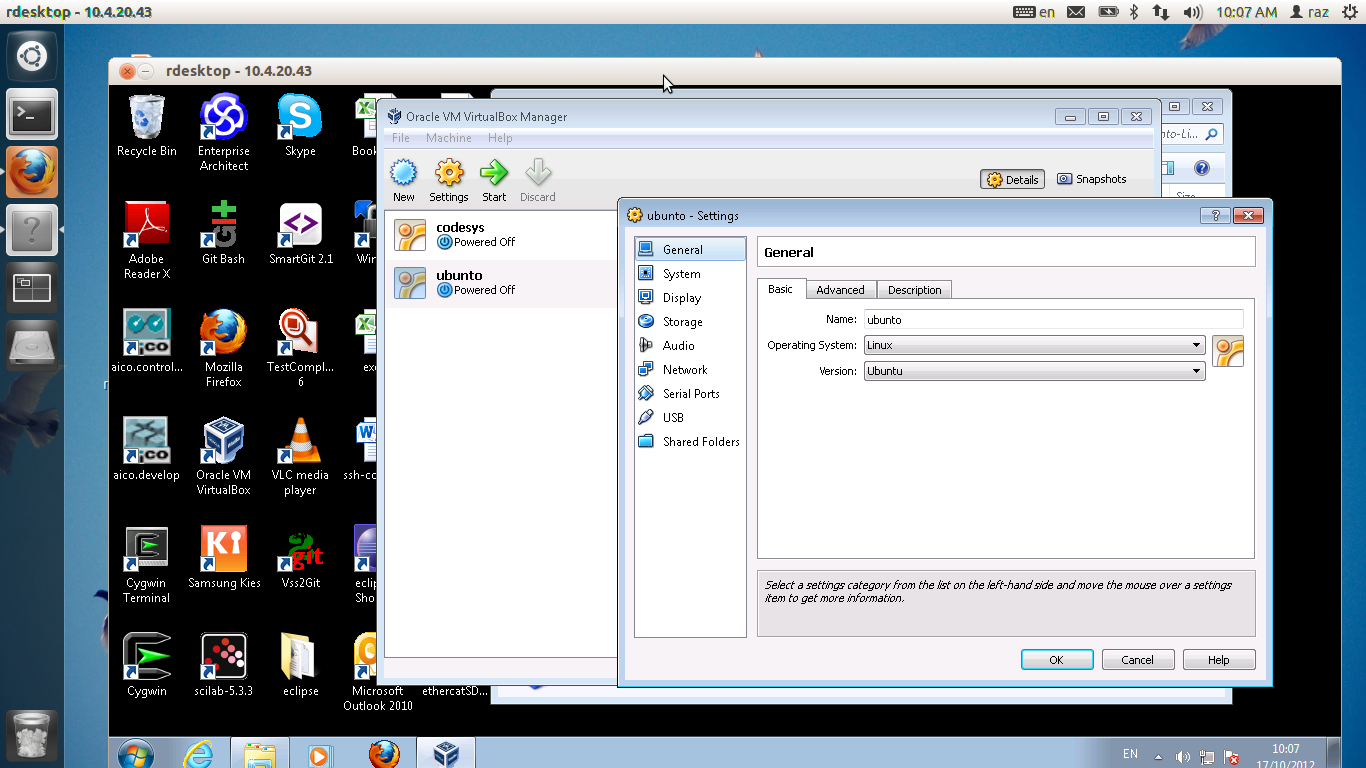
Now please follow these steps to create a virtual machine. Launch the virtual box.
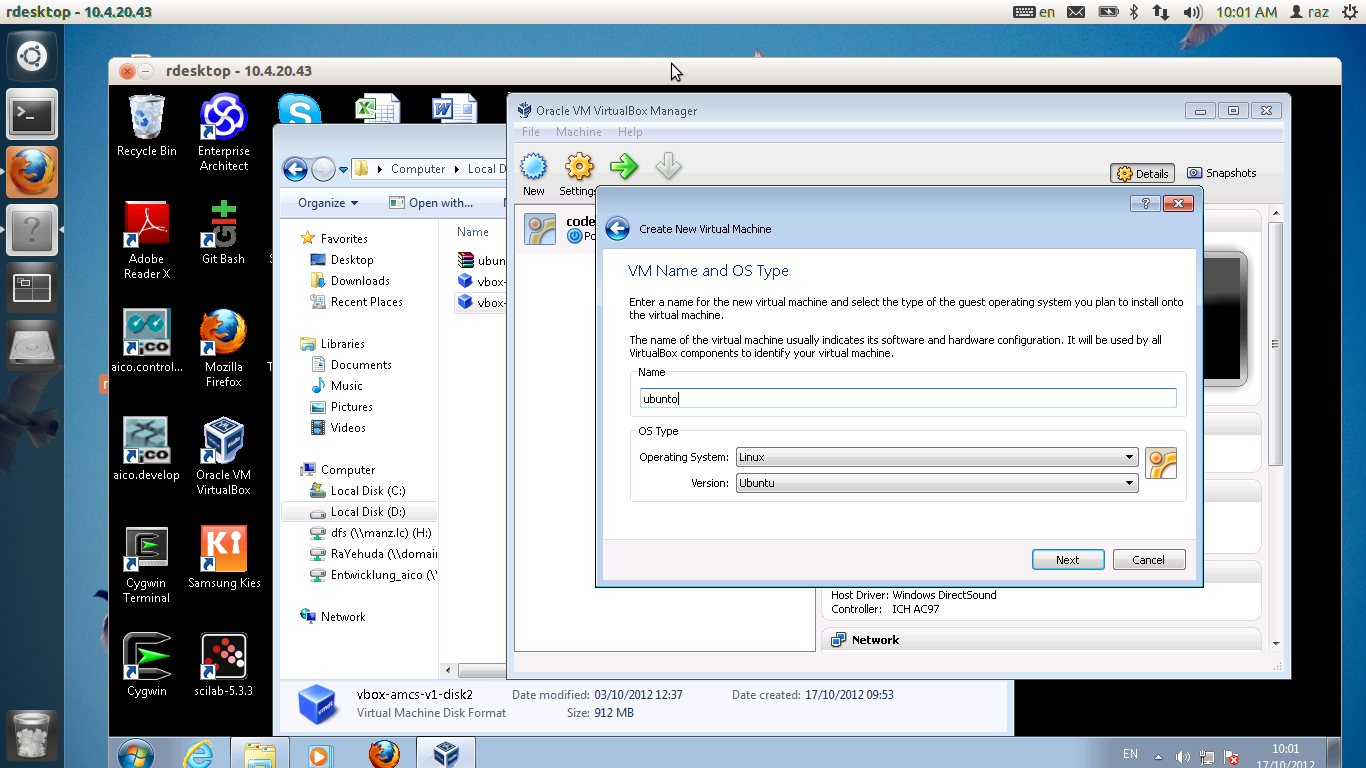
Click on the New button, the bellow window will appear. Enter the word "Ubunto" and press Next.
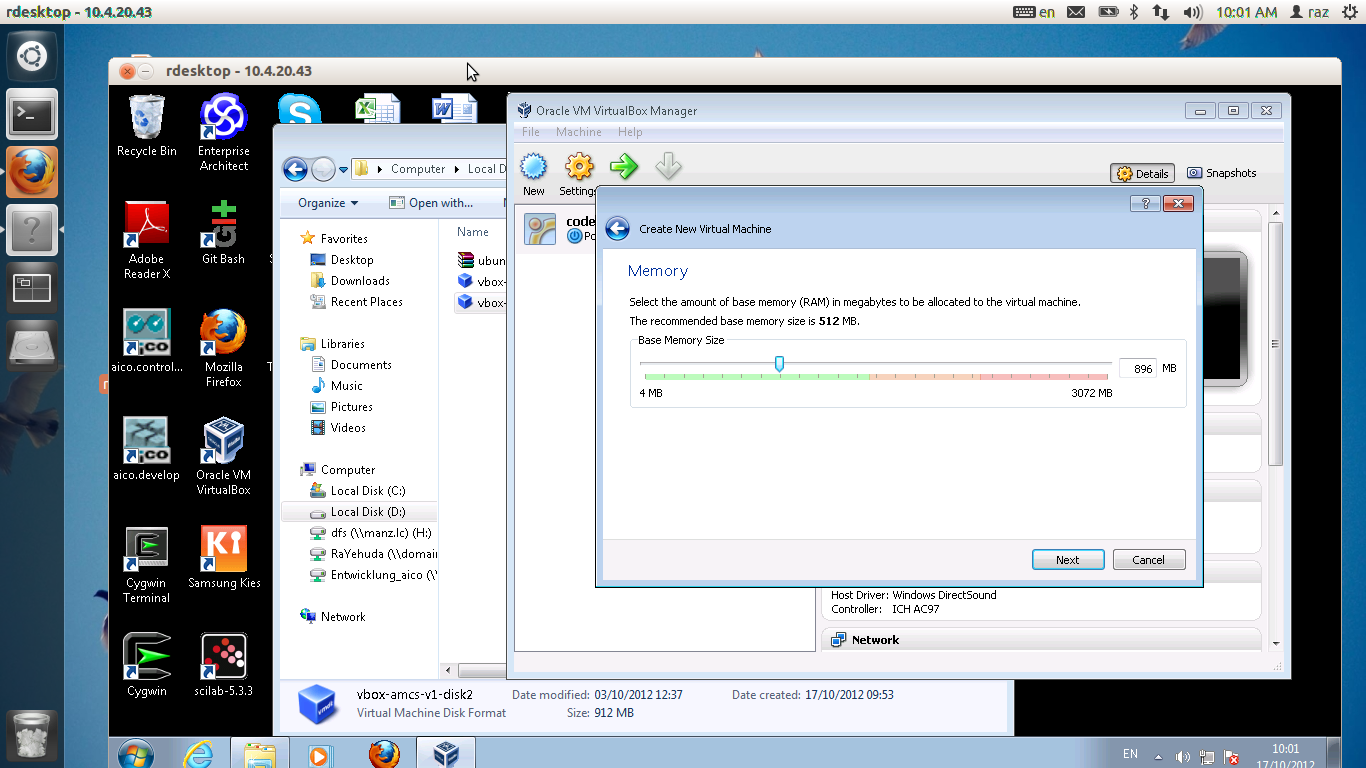
Next, Choose amount of RAM memory. I decided to use 1GB. The do not choose too much as it will slow the host machine.
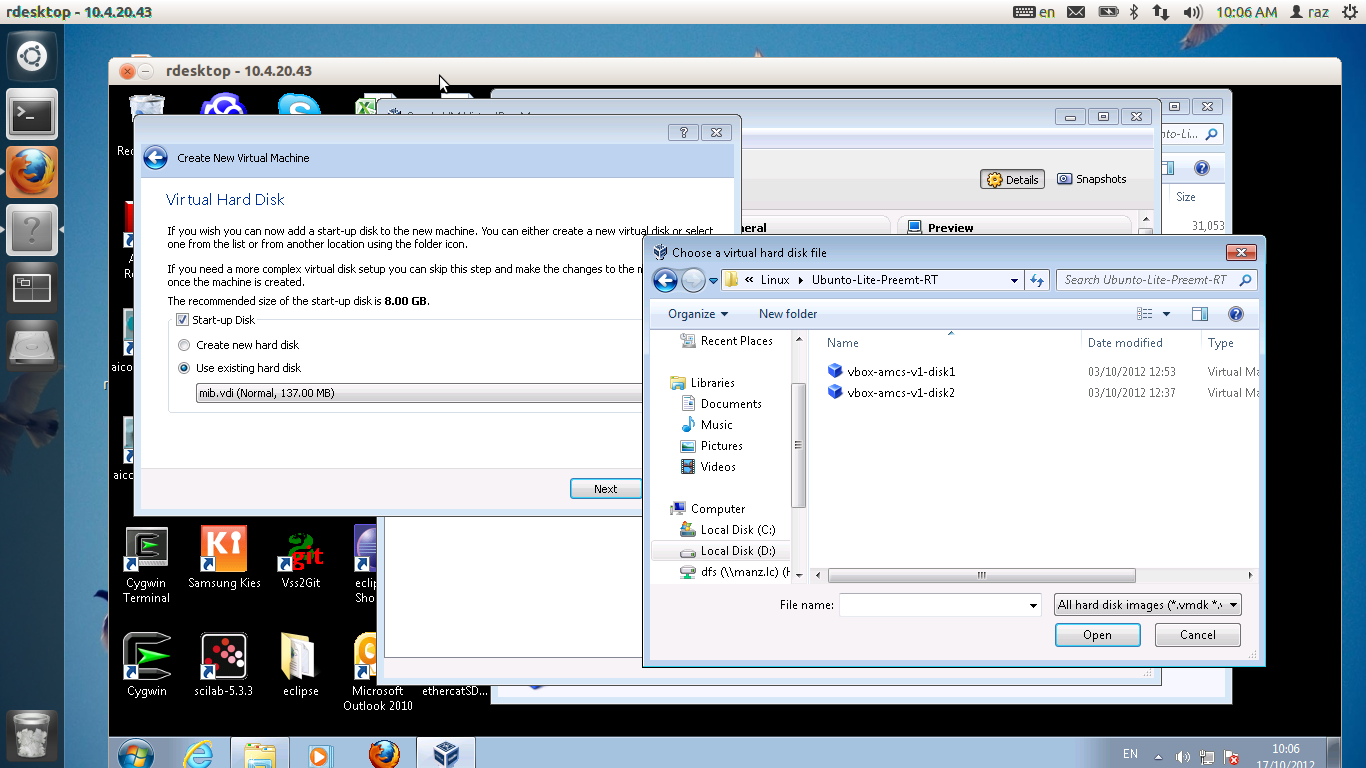
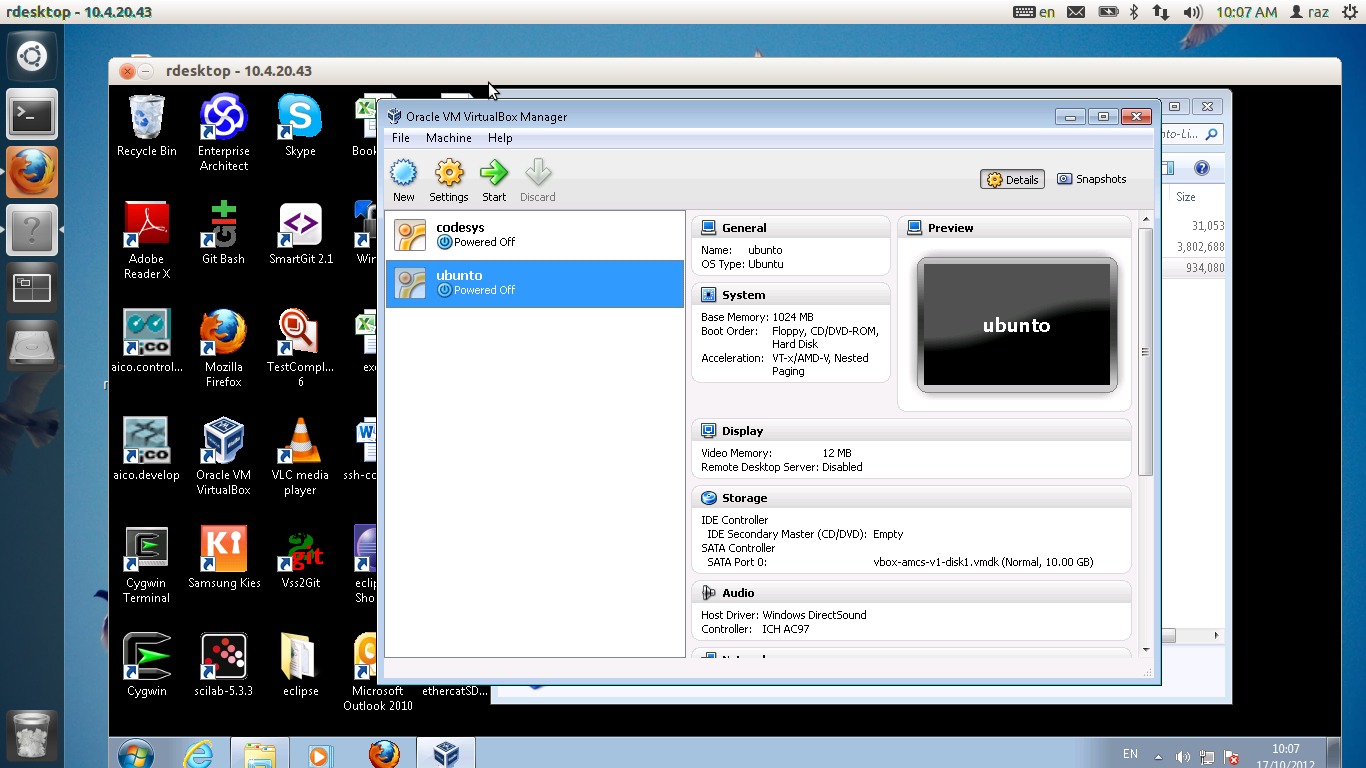
Choose the boot disk. Choose vbox-amcs-v1-disk1 and then "Open"
You should have a bootable image ready
We need to configure it a little, so choose Settings for the ubunto machine
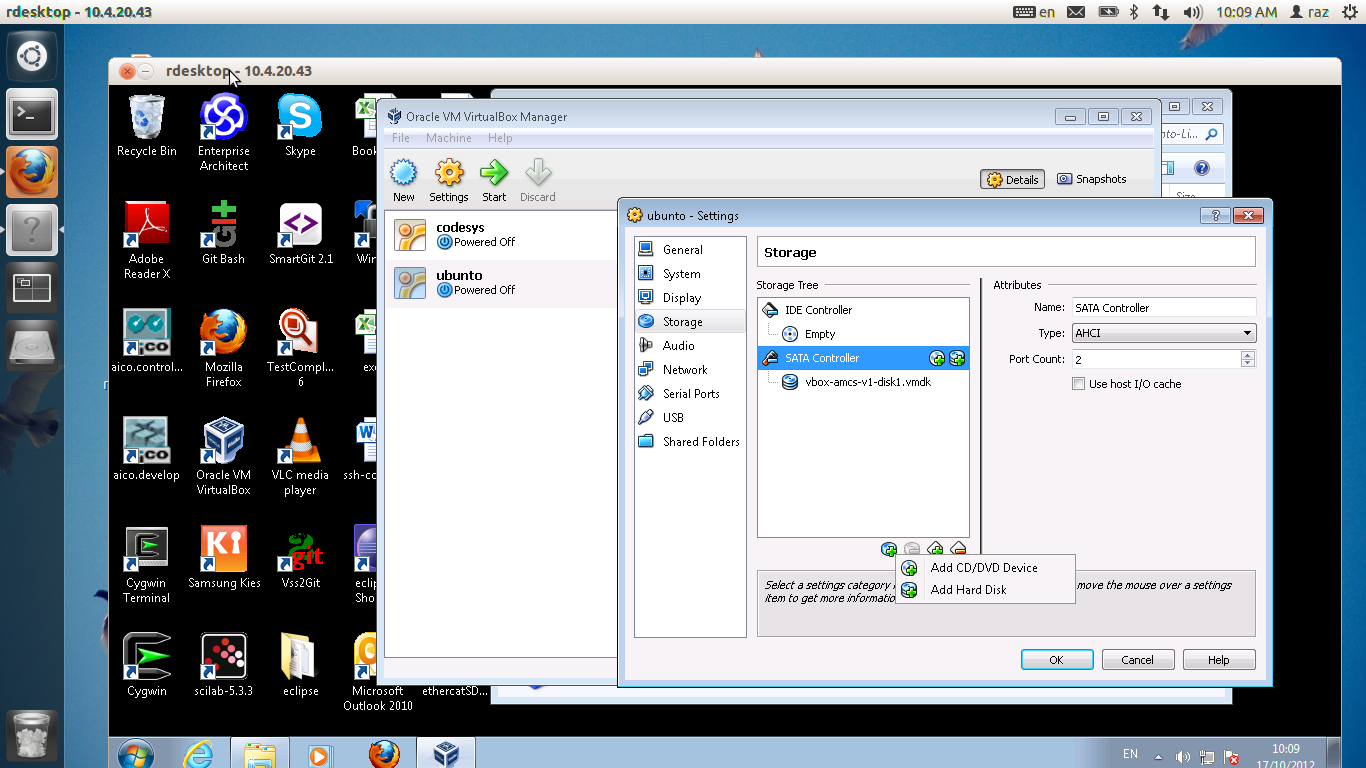
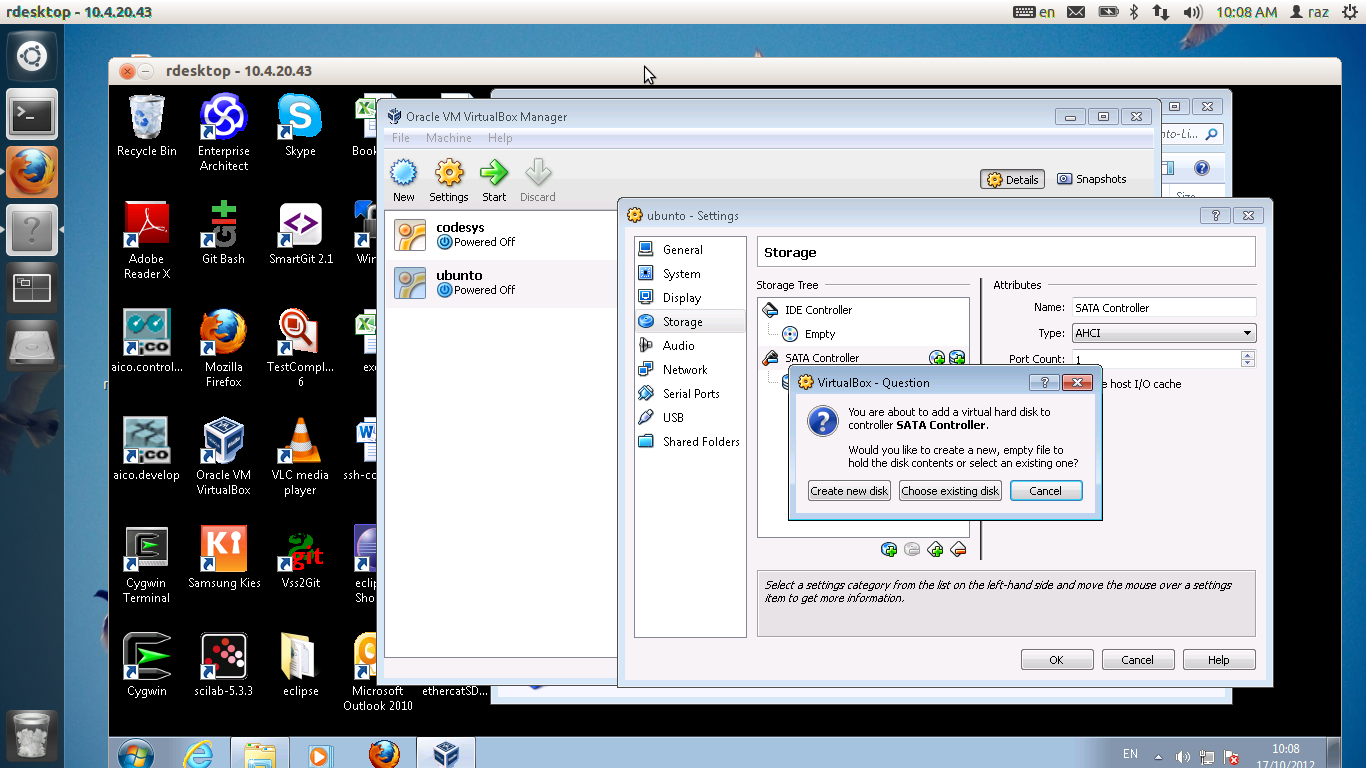
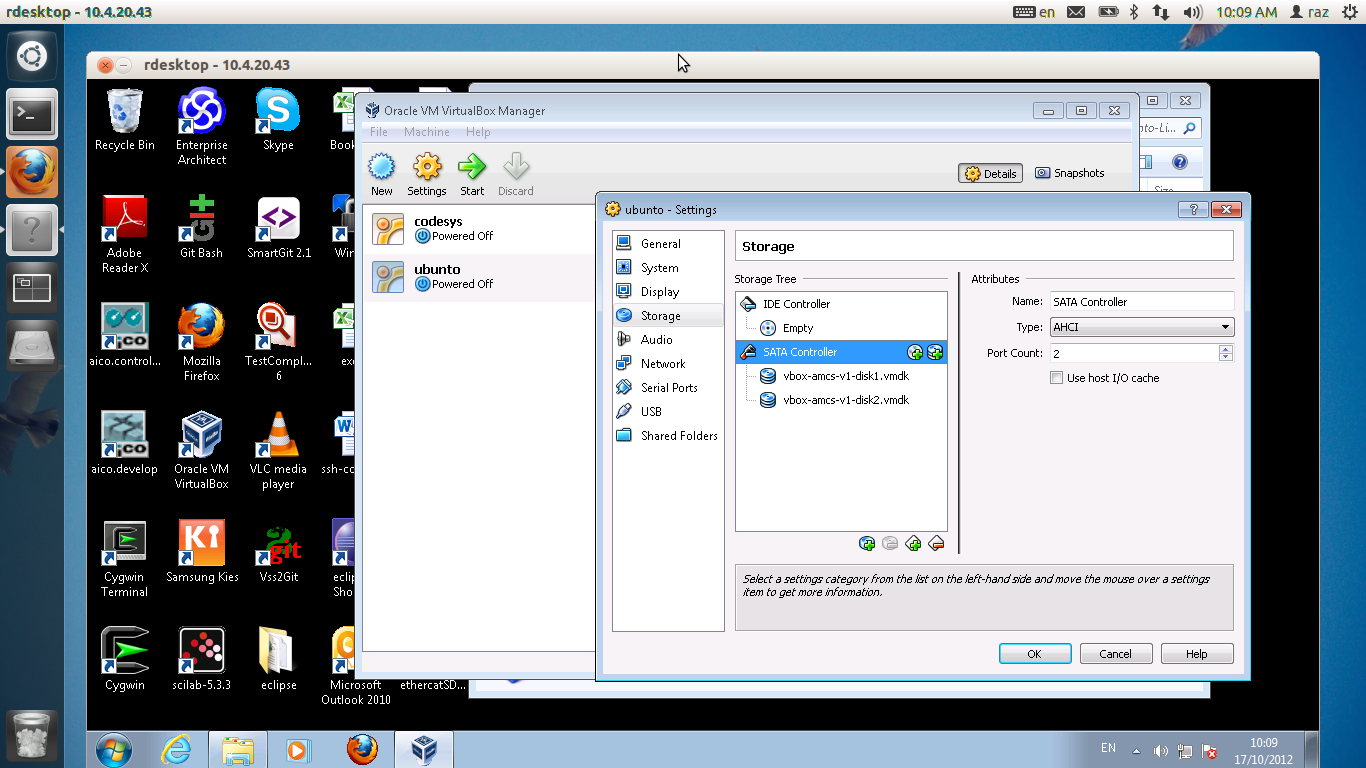
Click "Storage". we will add an additional disk. on the sata controller, click on "Add Hard Disk " icon
The bellow window pops
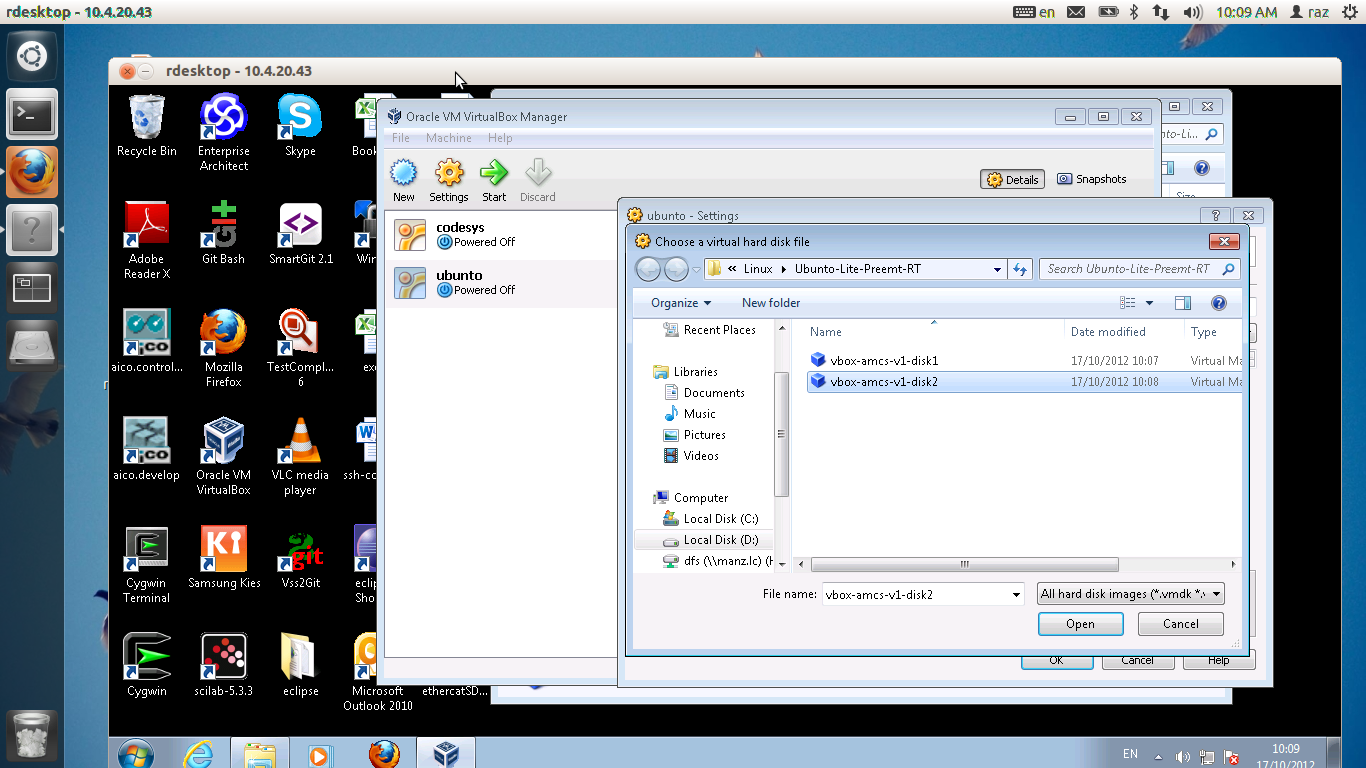
choose vbox-amcs-v1-disk2 as a secondary disk
This how this operation ends
Network configration. we configure the virtual box to become part of the LAN. Click on "Network -->" "attached to" and choose Bridged Adapter.
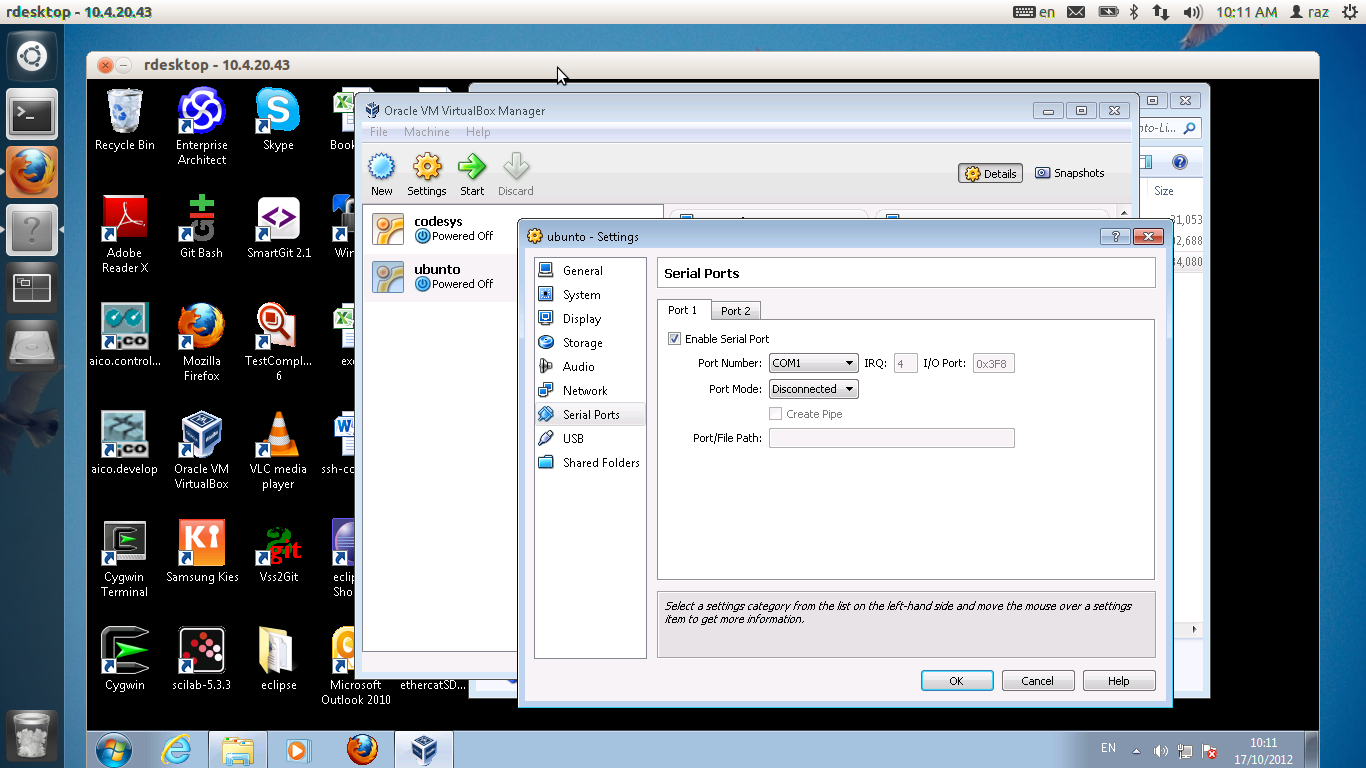
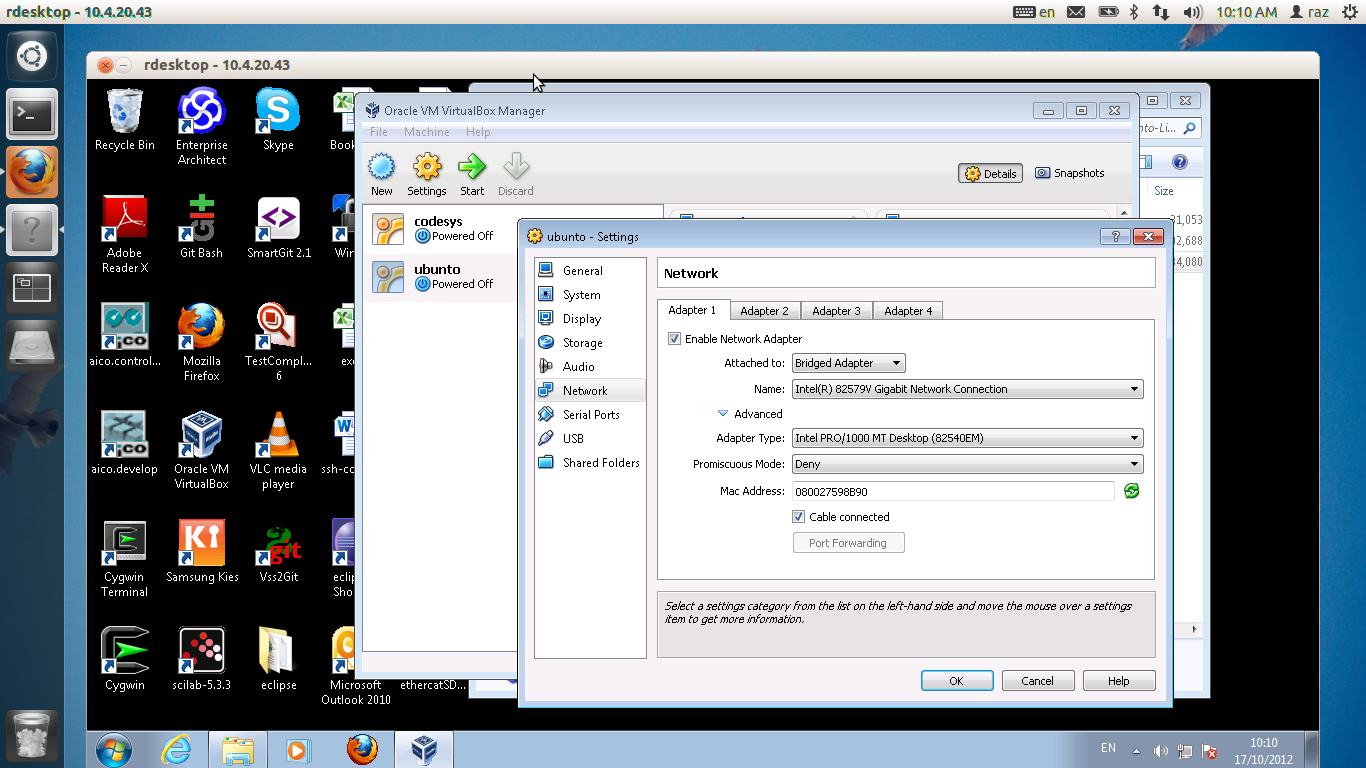 Serial Configuration. you may want to have serial ( rs232 ), as mc needs it from time to time. Click on "Serial Ports" and have "Port Numner" equal COM1
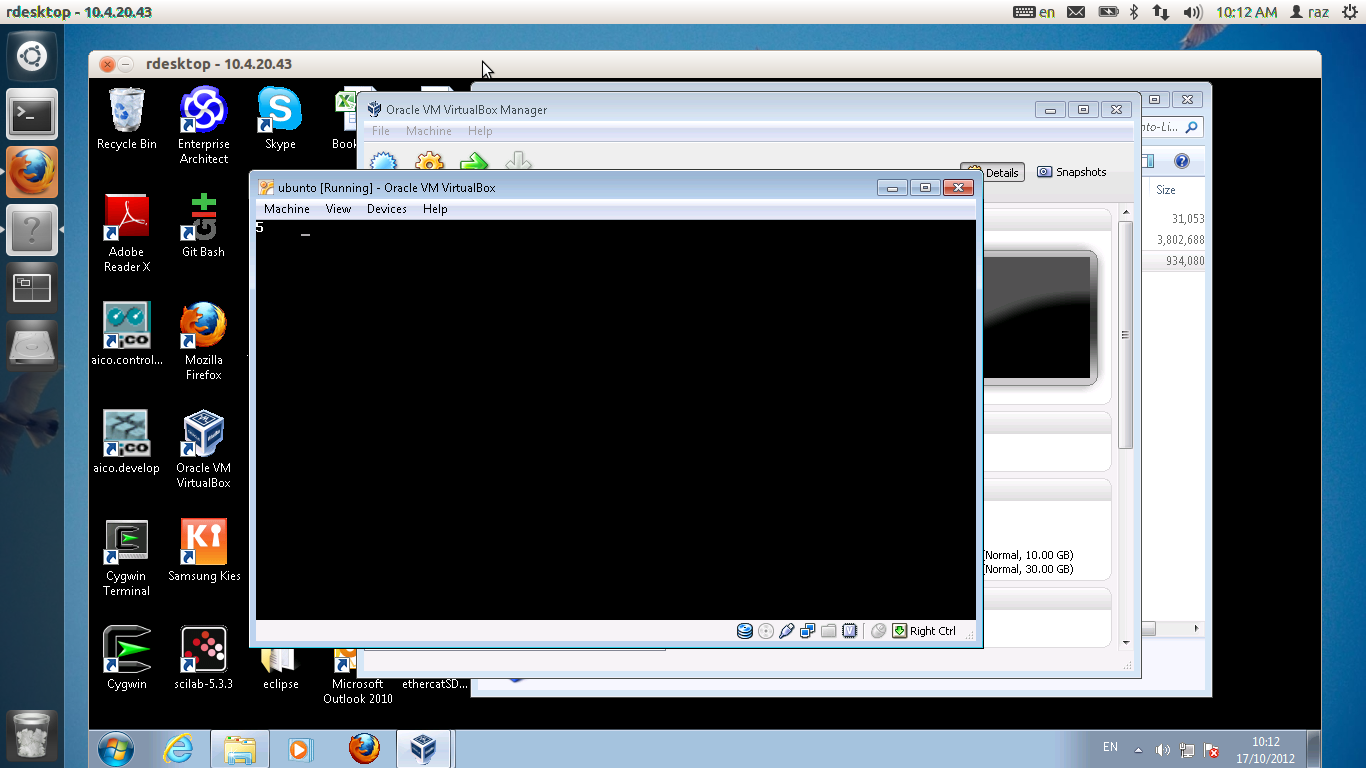
mouse lost in first boot.
Virtual MIB as a Codeasys
Virtual MIB as mini build machine
Virtual MIB, binary only
Getting the Virtual MIB
Execution of mc simulation mode - binary only
First, to install mc , please grab //domainaxy/IL/MC/Linux/mc_sim/mc_sim.tar.gz , copy it into the virtual machine and into a directory with enough space ( ie, not / ) and acts as follows.
open the ball
$ gunzip mc_sim.tar.gz
$ tar xvf mc_strim.tar
$ cd mc_sim
run mc as follows: $ source run_sim.sh
