Modbus Configurator
Note: A more detailed explanation about ModBus communication can be found in the following page: Modbus Communication API
Also, a complete presentation can be found here: Modbus_Presentation
Contents
Getting Started
In order to get started with Modbus features the following steps are required:
- Download the required files: Media:ModBus Required files new.zip
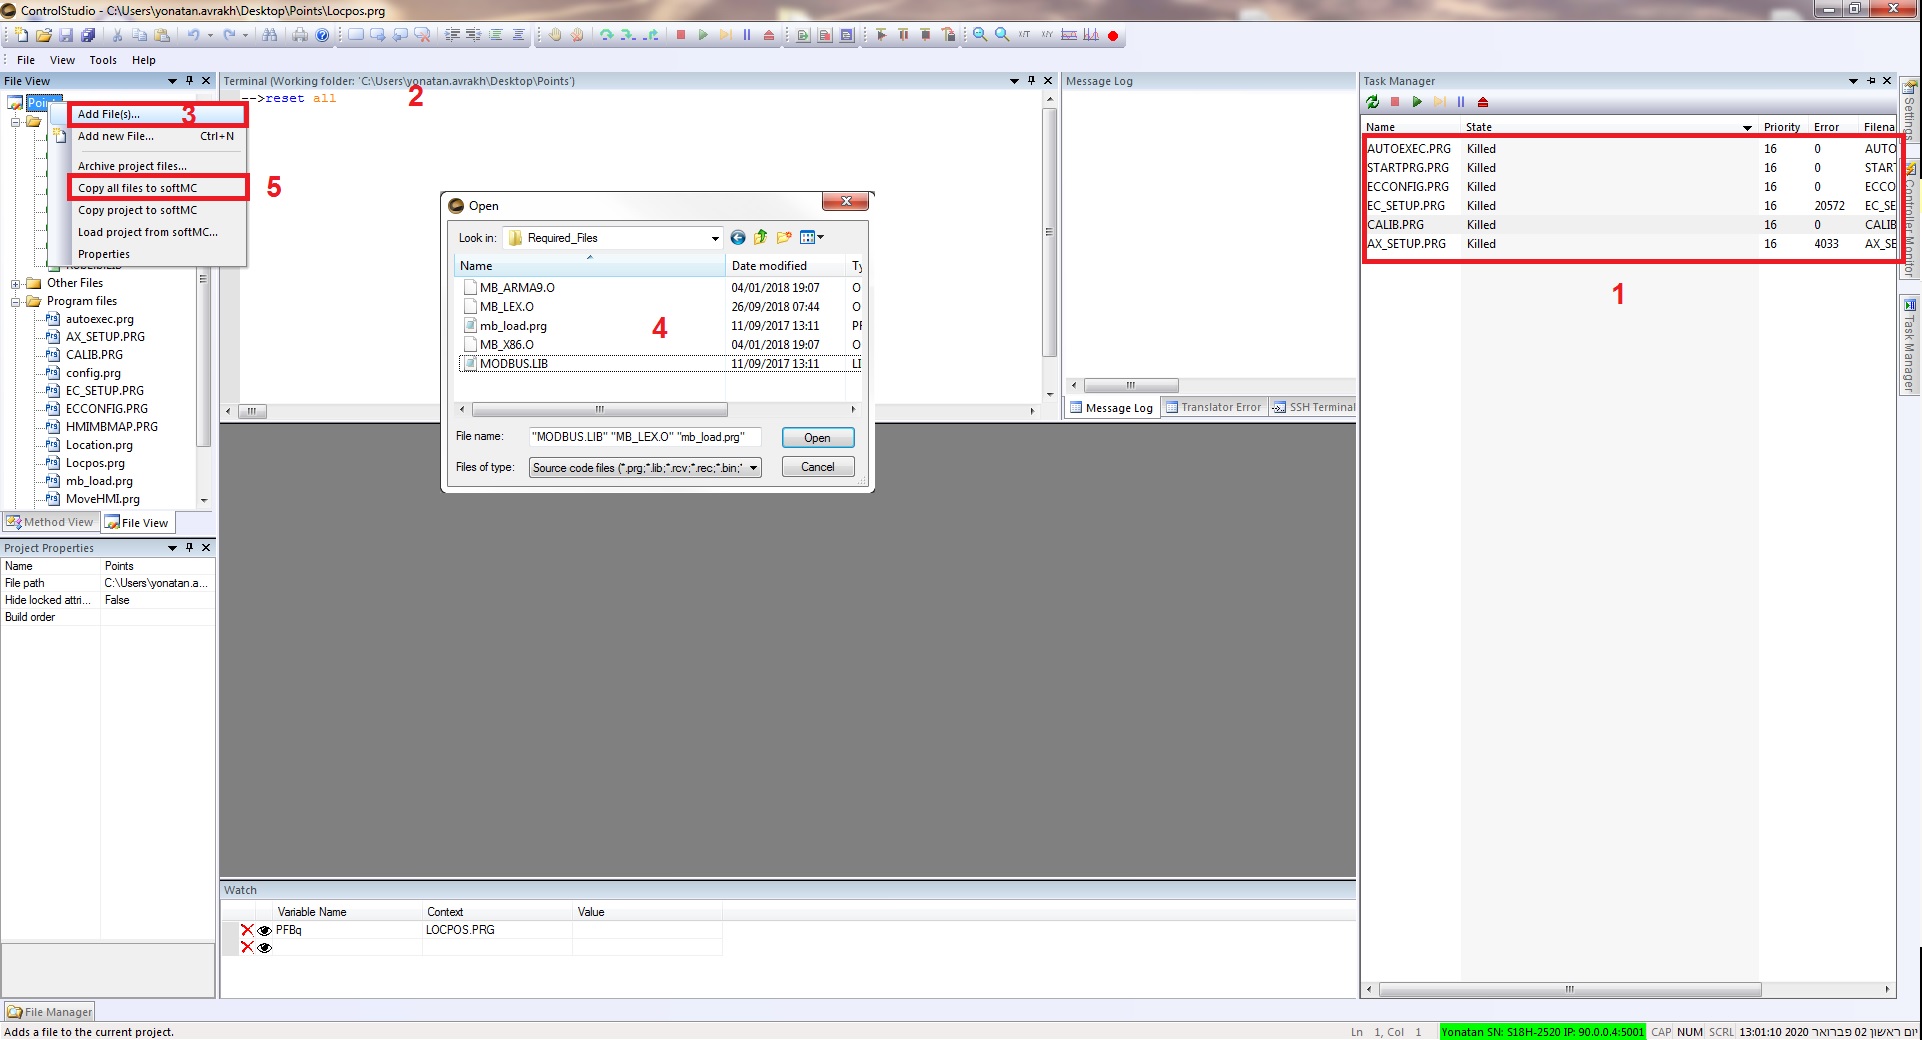
- Using the ControlStudio File Manager, Upload the following files to your MC as follows:
- Kill all tasks.
- In terminal, reset all tasks.
- Add files.
- upload the appropriate files as follows:
- mb_x86.O (for softMC7 ) / mb_armA9.O (for softMC3) / MB_LEX.O (for softMC703)
- Modbus.lib
5. Upload files to MC.

1. Load the correct Object file (based on the controller type) and the Modbus library manually, by typing the following in the terminal:
Oload mb_x86.O/ Oload mb_armA9.O /Oload MB_LEX.O
Loadglobal Modbus.LIBThat's it! You're now ready to configure the Modbus system.
Modbus Configurator
The Modbus Communication Scripts Generator (Modbus Configurator) is a tool that allows you to map your softMC application variables to Modbus tags.
Note: Tag access is defined from the HMI perspective. In other words:
- Read Access variables are written by the softMC to the Modbus address space.
- Write Access variables are read by the softMC from the Modbus address space.
You can define whether a variable has Read Access (meaning it is read by the HMI/PLC), or Write Access (meaning it is written by the HMI/PLC). Currently, it is not possible to define a variable as having both Read Access and Write Access. However, all Write Access variables can be written once by the softMC upon system startup by a special routine that is generated in HMIMBMAP.LIB (see section below).
The MC MBConfigurator creates three files:
- HMIMBMAP.LIB and HMIMBMAP.PRG files are MC-Basic scripts that are used to start a softMC task. These are default file names, which you can change, but must retain the 8.3 format. This task cyclically and indefinitely reads/writes Modbus tags according to access type.
- A .CSV format file that can be used by an HMI development environment, such as JMobile Studio, Indusoft and HMIStudio, to automatically import Modbus tags. You define the HMI development environment by selecting various Python scripts that will generate the .csv file.
Mapping Variables
Note: Variables destined to be mapped to Modbus tags must be defined as global variables by the "Common Shared" declaration.
1. In order to map the variables, the program must be loaded in the softMC.
2. Start the Modbus Configuration. From the ControlStudio toolbar, select Tools > Modbus Configurator.
The Modbus Configurator windows opens.
3. Select Connection > Connect.
The settings dialog box opens. Makes sure the correct MC IP and port are inserted:

4. In the Modbus Configurator window select Modbus Comm. Settings. Choose "Generate a csv file to use with softMI". Make sure Refresh rate is 10ms or higher.

5. In the Registers tab, enter the amount of registers needed per type.
- Notice: The maximum register number is 65536.
6. Select Connections, click Add and select TCP communication type with port number 502.

6.
1. Once the Modbus Configurator is connected to softMC, a complete list of all the global variables will appear on the right side. Double-clicking on the variables will automatically map them to Modbus tags in consecutive order. The automatic Modbus address and data type are displayed in the table.
2. Veriable type can be changed by clicking on the register type. Bits are 1 bit registers. It can be used for triggering (Write) functions, such as enable/disable or reading various statuses (Read). Hregs are 16 bit registers which can be used for number input (Write), such as set velocity/position or reading values (Read), such as position feedback.
If a mapped variable is defined as CONST, its access type is automatically set to Read. In such instances the access type cannot be changed. Read Access variables are read only by the HMI; therefore the softMC only writes them to the Modbus address space.
A variable that is not defined as CONST automatically appears as Write Access. Double-click on the access type to toggle the variable between Read Access and Write Access, and thus determine whether the variable will be read or written by softMC.

Generating and Using Scripts
After you are done mapping variables and defining the access types, a snapshot of the current configuration must be saved in order to generate the Modbus-handling scripts.
1. Click Files, and then Save As.
- The mapping is saved in an .mbas file.
- If you makes changes after saving the .mbas file, the MBAS file indicator in the status bar will light up.
2. To generate the product files, click Generate.
The Log windows will display Success messages.
3 files will be generated: HMIMBMAP.LIB, HMIMBMAP.PRG, which will be used by the MC and STX_HMI.CSV, which will be used by the HMI program.
3. The defult location of the files generation is located in ControlStudio installation folder: C:\Program Files (x86)\Servotronix\MBConfigurator

Using the Modbus-Handling Scripts
1. Using the ControlStudio, copy HMIMBMAP.LIB and HMIMBMAP.PRG to the softMC as shown in Media:ModBussetup.jpg
Note: Before these files can be loaded and used, your application(s), which include all the global veriables must be loaded (all mapped variables must exist in the softMC memory).
2. Using the ControlStudio Terminal, load the library HMIMBMAP.LIB:
Load HMIMBMAP.LIB
- Since HMIMBMAP.PRG imports this library it must not be loaded globally. This code can be executed wherever is convenient.
3. Verify that the library was loaded successfully:
?tasklist
4. Start the Modbus communication task by loading the program:
Load HMIMBMAP.PRG
HMIMBMAP.PRG is defined as Program Continue, therefore it starts automatically after it is loaded and it does not require an explicit StartTask command.
Of course, HMIMBMAP.PRG can be loaded and executed only after HMIMBMAP.LIB is loaded. Therefore, you should add the following code to AUTOEXEC.PRG or wherever is convenient:
Load HMIMBMAP.LIB
Load HMIMBMAP.PRG
HMIMBMAP.PRG Explained
The code:
import HMIMBMAP.LIB
Program Continue
	dim retVal as long = 0
	retVal = Init_Modbus
	while 1
		retVal = Read_Modbus_Registers
		retVal = Write_Modbus_Registers
		sleep 1
	end while
End Program
The functions Init_Modbus, Read_Modbus_Registers and Write_Modbus_Registers are implemented in HMIMBMAP.LIB, which is automatically generated by a Python script.
The function Init_Modbus starts the Modbus server and then writes to the Modbus address space all the Write Access Variables (i.e., all the variables read by the softMC from the Modbus address space). This feature allows you to setup the system to start with an initialized Modbus address space before the HMI/PLC connects to it. The HMI/PLC can read the address space and initialize itself accordingly.
The functions Read_Modbus_Registers and Write_Modbus_Registers are invoked cyclically and indefinitely. Read_Modbus_Registers reads all the tags that are written by the HMI/PLC and updates the Write Access variables with new values, while Write_Modbus_Registers does the opposite.
HMI Programs
Note: HMI Studio is the most commonly used program.